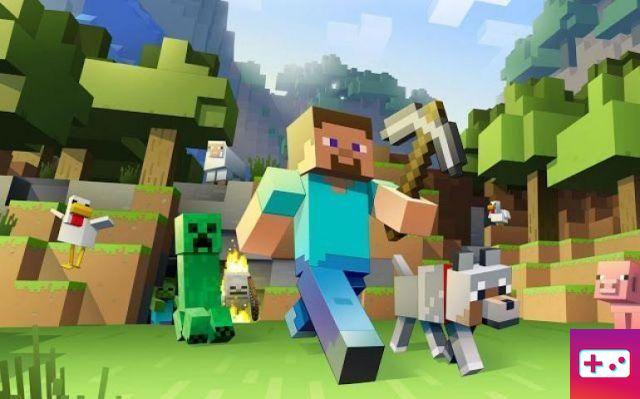
Have you ever loaded up Minecraft, glanced at Steve and thought, "Damn, he's a boring guy." He's the default character you're greeted with when you buy the game, and he's so annoying it's annoying. With his blue t-shirt and denim jeans, he looks like a guy going through a midlife crisis and doesn't throw you into a sense of adventure. Since the whole game is pretty much that, he's not the best avatar to play with.
But rejoice Minecraft fanatics, there is one way to make Steve less boring and less Steve-like, and that's by changing your skin. Now don't worry, you don't need a Buffalo Bill flesh costume, but on PC and Console, you can click a few buttons and become whoever you want.
I do not know how? Then use this guide to show you how.
Change Skin on PC
To change your skin on your PC, you must first decide what type of skin you want. This can be done in-game or by visiting a site where you can upload custom work. If you decide to go through the in-game option, you should be able to get a few for free, but beware shoppers, there will also be options you'll have to pay for. As these are usually found on a mod site somewhere, at no extra cost, so I would recommend going that route if you are a little strapped for money.
With your skin chosen, purchased, or downloaded, you'll want to know how to make Steve more Steve, and it's very simple, really.
- Download Skin / Purchase Skin
- Login to your Minecraft account
- On your profile page, upload the skin you want.
- Wait for the confirmation message
- If you were already logged into Minecraft, log out
- Starting the game
- Hey presto, you're someone else
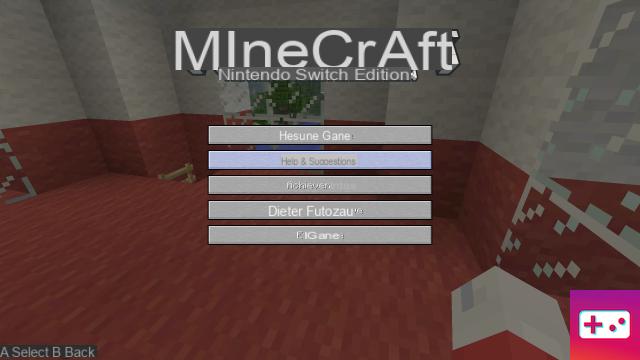
Change skins on console
This one is much easier than the previous entry, but it also comes at a cost. The difference between PC skins and console skins is that with console versions you cannot download any community builds. This means that you will have to choose from the selections offered in store. Even if a few of them are few, you know that the ones you want are going to cost you.
So whether they're free or you have to pay for them, here's how you apply them in-game.
- Start Minecraft
- When the main menu appears, click on Help / Options, Change Skin
- Decide which skin pack suits your needs
- If it's not free, then you'll be sent to the appropriate store to cough up some cash
- Hey presto, you're someone else
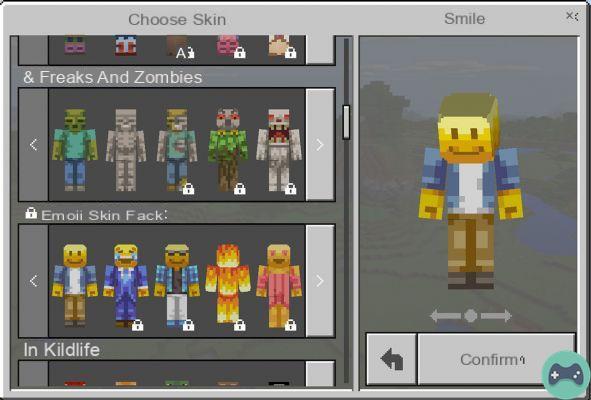
Change skins on Pocket Edition
Minecraft pocket edition might be Minecraft lite, but that doesn't mean you can't have fun skin-switching like you can with its bigger brothers. This version is perhaps the best solution for upgrading Boring Foor Boring Steve because it strongly encourages you to visit download sites to grab what you need. This means that each skin you get won't cost you a penny. This comes with the obvious requirement that you want to use a trusted site, such as Minecraft Skins, to not completely hack your phone with malware or viruses, but free is free, and here's how you can get it all working these cute cheap skins in game
- Head over to Minecraft Skins
- Choose the skin you like and download it
- Run Minecraft PE
- Click the hanger icon in the corner
- Click on the empty skin icon, should be at the top left
- Click Choose New Skin, select your download.
- Choose your skin model and click confirm
- Hey presto, you're someone else