It's easy to make a shirt with Roblox and you can even customize it with your logo or brand. Before you start, you need to go to https://www.roblox.com/premium/membership?ctx=preroll and become a Premium member if you aren't already. You can create t-shirts without a member account, but you cannot create a shirt without an account.
Once you become a member, all you have to do is follow the simple instructions below to create a stylish shirt for your character.
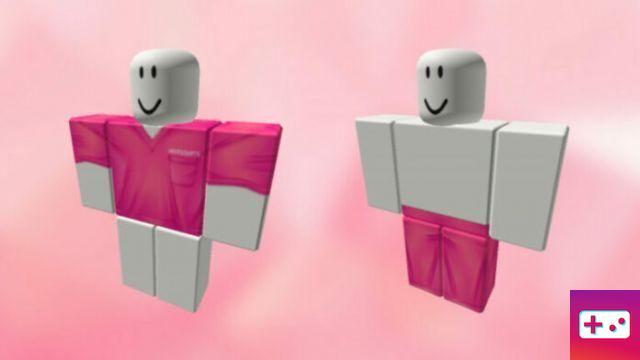
Go to the shirt templates page in your browser using this link. https://static.rbxcdn.com/images/Template-Shirts-R15_07262019.png.
Save the template to your computer by right-clicking and going to Save As. You can use any name you like and any location you prefer.
Open photo editing software like Microsoft Paint, Photoshop or visit pixlr.com.
Use the software to access and open the model.
You can then edit the labeled parts of the model using tools such as a pen tool or writing tool.
Save the edited design under another name so you can always use the original later.
These are the steps needed to create a shirt, but you still need to add it to your character. For that, proceed as following.
Log in to your Roblox account and click on the three lines at the top left of the screen to open the menu.
Open the Avatar tab in the menu.
You will see the clothing menu next to the avatar image and you need to go to Shirts.
Click the Create button at the top right of the Shirts tab.
Click Choose File and navigate to your saved design.
Once you've selected your design, click upload, and it will appear in the list of available shirts.