In video games, there are few things scarier than when your character suddenly begins to spin in circles, possessed by an unknowable force and impulse to move about without your input. Maybe every time you line up a perfect shot, the reticle slides slightly down and to the left. Maybe your Need for Speed is interrupted by a phantom pull to the nearest curb. Or do you play Dragon Quest XI and find all the text boxes fly away, because Square Enix's thought dialogue should be ignored at the slightest touch of the stick?
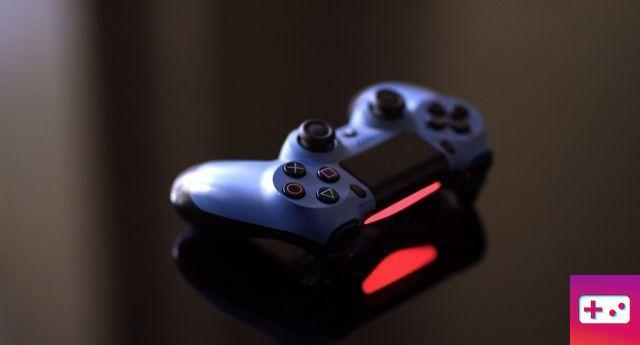
If something like this happens to you, chances are you're experiencing "controller drift," a problem with many console controllers. Unlike the Nintendo Switch's infamously faulty Joy-Cons, issues with the PlayStation 4's DualShock 4 are less common, but it can still happen. Luckily, the most likely reason tends to be grime built up over time, which can be fixed without too much hassle.
Before opening your PS4 controller
If you are planning to repair your PS4 controller, there are a few things you need to make sure you have taken care of first. Resetting your controller can fix some of the issues you might be having, so go ahead and give it a try before doing anything else. To reset your PS4 controller, you will first need to go to your PlayStation 4's settings menu. In the settings menu, click on devices, then Blutooth devices, then find the controller you are currently using. Press the option button on your controller, then select “Forget Device”. Once the controller is disconnected from your PS4, turn off your PS4. On the controller, insert a pin into the small hole near the left shoulder button. Press the pin for 10 seconds. Next, connect your controller with your USB charging cord to the PS4 and start the console.
If you're still having trouble, it's time to open up the controller and do some manual work. First, clear a well-lit workspace. There are lots of small parts inside the controller that you won't want to lose. It goes without saying, but do so at your own risk.
How to Open Your PS4 Controller
- Place your controller on your workspace and with a Phillips screwdriver remove the four screws on the back of the controller.
- Gently pull the back of your controller. Depending on your model, there may be plastic between the shoulder buttons. If so, carefully slide the plastic over the buttons. If one of the buttons is disabled, it can be reinstated later. Don't be rough when pulling the rear from the front of the controller — there's a ribbon connecting the two halves that shouldn't be broken.
- Once the back is closed, carefully untie the ribbon that connects the two halves. You can simply pull it out of its socket.
- Next, remove the battery cable connector. This connects a pair of red and black wires from the centrally located battery to the controller motherboard. By squeezing the connector and pulling it, you should be able to easily pull this connector out of its socket.
- Remove the battery, then the battery plate underneath. Be careful with the plastic pegs that hold the battery plate in place. You don't want to break them.
- Unscrew the screw in the middle of the motherboard.
- Carefully remove the ribbon cable that is located in the upper right corner of the motherboard. Depending on your version of the DualShock 4, your controller may have a small clamp on the ribbon cable that you'll need to pry out first. This cable is very delicate, so be very careful.
- You should now be able to remove the plastic front cover from the controller and fully examine the panel containing all the buttons and analog sticks.
From here, you can see what needs cleaning and if anything has clogged your analog sticks (dirt, dust, cat hair, etc.). This will sometimes solve the drift problem. If there doesn't seem to be any dirt, grime, or anything else that is obviously hampering the performance of your analog sticks, do the following:
- Remove the analog sticks. Blow or dust the underside of the sticks.
- Where the analog sticks were, there would be two cube-shaped structures with green overlays. Use your screwdriver to carefully pry off the green walls.
- There will be a small white disk hanging from a node between the green wall and the cube itself. Remove the disc and clean the area against the cube with a cotton swab. Do this with all sides of the cube.
- Once done, place the white disc back on its node and press the green wall into place. This will take some force. Do this with each area you disassembled.
- Reinsert your analog keys and reassemble the button plate and motherboard inside the controller shell.
- Be sure to carefully reconnect the ribbon cable from step seven.
- Replace the battery.
- Replace the ribbon connecting the two halves.
- Screw the controller back cover back on.
This should fix a lot of issues with the DualShock 4's analog stick drifting, as the problem usually doesn't seem to be hardware related, but is instead due to gunk and grime that builds up over time. We hope this helps and you can get back to playing as soon as possible!